Description
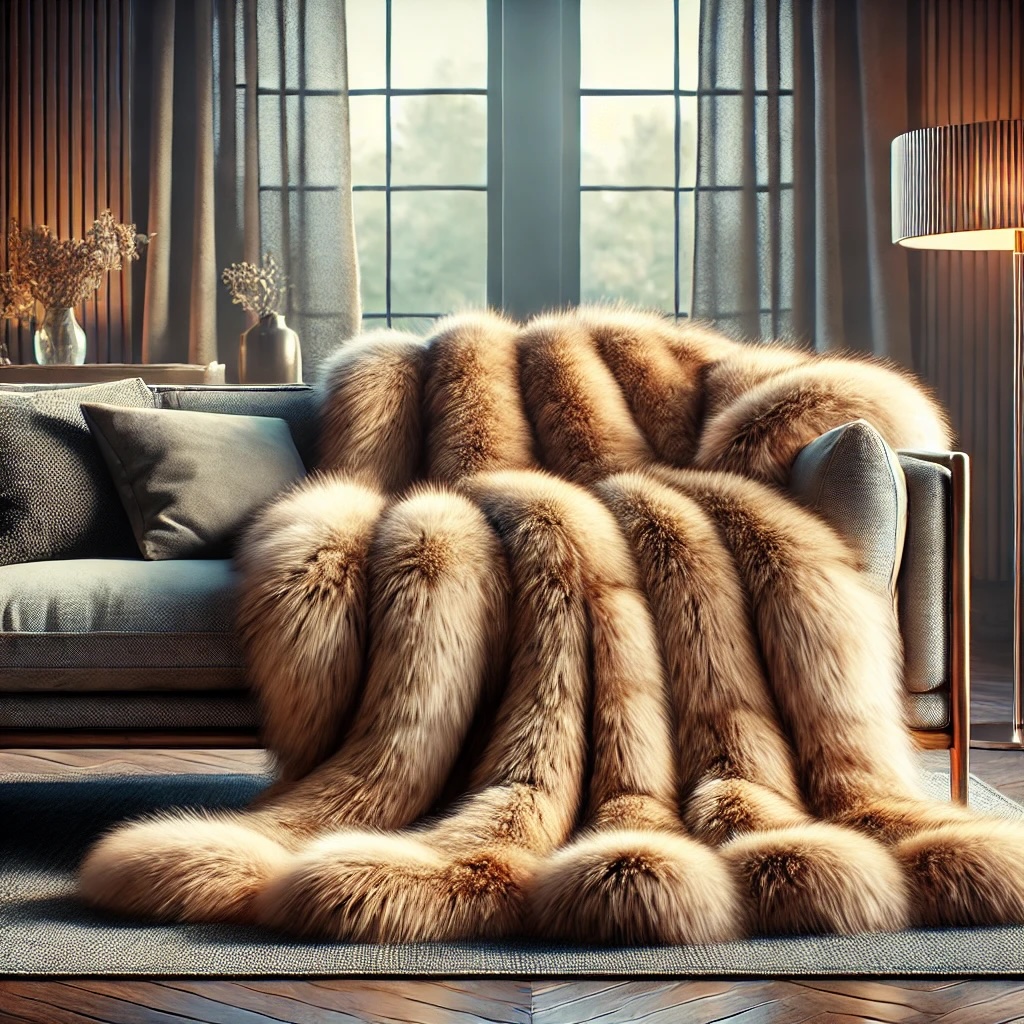
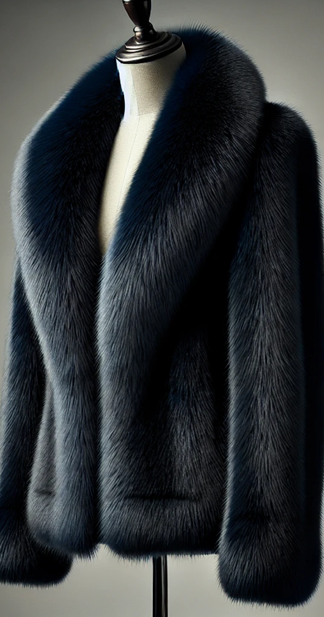
Remodel Your Fur Coat into Fur Blanket
Repurposing a mink coat into a fur blanket can be a creative way to give new life to an old item. Here’s a basic overview of the steps involved:

- Assess and Prepare the Coat: Examine the mink coat to ensure it is in good condition and suitable for repurposing. Check for any damage, wear, or tear that might affect the final product. Clean the coat as necessary, preferably with a professional fur cleaning service to ensure it’s in the best possible state before you begin.
- Dismantle the Coat: Carefully remove any linings, buttons, hooks, or other embellishments. You'll want to separate the fur from any other materials. Use a seam ripper to gently undo the stitching without damaging the fur.
- Plan Your Blanket: Lay out the fur pieces on a large, flat surface and decide on the dimensions of your blanket. This will help you determine how the pieces need to be rearranged and sewn back together. You may want to create a paper pattern to act as a guide.
- Cut to Size: Depending on the size of the original coat and your desired blanket size, you may need to trim some of the fur. Use sharp scissors and cut from the leather side to avoid cutting the actual fur more than necessary.
- Sewing the Pieces Together: Using a needle and strong thread (or a furrier's sewing machine if you have access to one), stitch the fur pieces together. Fur sewing often requires special techniques, such as a pelting stitch, which hides the seams and keeps the fur looking seamless.
- Add a Backing: Choose a fabric for the back of your blanket. Velvet, satin, or another soft, durable fabric works well and adds an extra layer of warmth and comfort. Cut the backing to match the size of your sewn-together fur pieces.
- Attach the Backing: Place the backing fabric against the leather side of the fur, with the right sides together. Sew around the edges, leaving an opening on one side to turn the blanket right side out. Turn the blanket right side out and hand-stitch the opening closed.
- Final Touches: Depending on the finish and look you desire, you may want to add some border trim or additional stitching to help the blanket hold its shape.
Keep Warm with Your Old Fur Coat
This process requires patience and a bit of skill, especially when working with fur. Fur is a delicate and expensive material. If you’re not experienced in sewing, especially with fur, it might be a good idea to consult with or hire a professional furrier.
We can take most old furs and make the useable again by remodeling them into a beautiful throw or blanket. This is a great idea to utilize your unworn fur coat.


